Dairy-Free Greek Yogurt Recipe: A Unique and Delicious Guide
Greek yogurt is celebrated for its creamy texture and tangy flavor, making it a popular choice for breakfast, snacks, and cooking. But if you follow a dairy-free lifestyle, you might think you’re missing out. Fear not! This guide will walk you through creating a delicious, dairy-free version of Greek yogurt that’s both healthy and satisfying.
What is Dairy-Free Greek Yogurt?
Dairy-free Greek yogurt is a plant-based alternative to traditional Greek yogurt. It mimics the rich, creamy texture and tangy taste of its dairy counterpart but is made from plant-based ingredients. This type of yogurt is perfect for those who are lactose intolerant, vegan, or simply looking to reduce their dairy intake.
Why Make Your Own Dairy-Free Greek Yogurt?
While store-bought dairy-free Greek yogurt is available, making it at home offers several advantages:
- Customizable Flavor: You can adjust the sweetness and tanginess to your preference.
- Control Over Ingredients: Avoid unwanted additives and preservatives.
- Cost-Effective: Homemade yogurt is often more affordable than store-bought options.
Ingredients for Dairy-Free Greek Yogurt
To make dairy-free Greek yogurt, you’ll need a few essential ingredients:
- Plant-Based Milk: The base of your yogurt. Almond, cashew, coconut, or soy milk are popular choices. Choose unsweetened options to manage the sugar content.
- Thickener: To achieve the creamy consistency, use thickeners like agar-agar, cornstarch, or tapioca starch.
- Probiotic Cultures: These beneficial bacteria are crucial for fermenting the milk and creating the yogurt’s tangy flavor. You can use store-bought probiotic capsules or powder.
- Sweetener (Optional): If you like your yogurt a bit sweet, add a natural sweetener like maple syrup or agave nectar.

Step-by-Step Recipe for Dairy-Free Greek Yogurt
Ingredients:
- 4 cups of unsweetened plant-based milk (e.g., almond, coconut, or soy milk)
- 1/4 cup of thickener (e.g., tapioca starch or cornstarch)
- 1/4 cup of plain, dairy-free probiotic powder or 1-2 probiotic capsules
- 2 tablespoons of maple syrup or agave nectar (if desired)
- 1 tablespoon of lemon juice or apple cider vinegar (for extra tanginess, optional)
Instructions:
- Prepare the Thickener:
- In a small bowl, mix the thickener with a few tablespoons of cold plant-based milk to create a slurry. This step helps prevent lumps when you add it to the hot milk.
- Heat the Plant-Based Milk:
- Pour the remaining plant-based milk into a medium saucepan and heat over medium heat until it reaches about 180°F (82°C). Stir occasionally to prevent scorching. This step helps in preparing the milk for fermentation.
- Incorporate the Thickener:
- Gradually whisk the thickener slurry into the hot milk, ensuring it is well incorporated. Continue to heat the mixture until it thickens, about 5-10 minutes. Be careful not to let it boil.
- Cool the Mixture:
- Remove the saucepan from heat and let the mixture cool to around 110°F (43°C). t should be comfortably warm to the touch, but not hot. Cooling is crucial for the probiotics to work effectively.
- Add Probiotics:
- If using probiotic capsules, open them and sprinkle the contents into the cooled milk. If using probiotic powder, add it directly. Stir gently to combine.
- Ferment the Yogurt:
- Transfer the mixture to a clean, airtight container. Cover it with a lid or plastic wrap and place it in a warm, draft-free area for 8-12 hours. A yogurt maker, oven with the light on, or a warm spot in your kitchen works well for fermentation. The longer it ferments, the more tangy it will taste.
- Check the Consistency:
- After the fermentation period, check the yogurt. It should be thickened and have a tangy flavor. If it’s not thick enough, you can stir in a bit more thickener and refrigerate it for a few more hours.
- Chill and Enjoy:
- Once the yogurt has reached the desired consistency and flavor, refrigerate it for at least 4 hours to firm up. It will continue to thicken slightly as it chills.
- Serve:
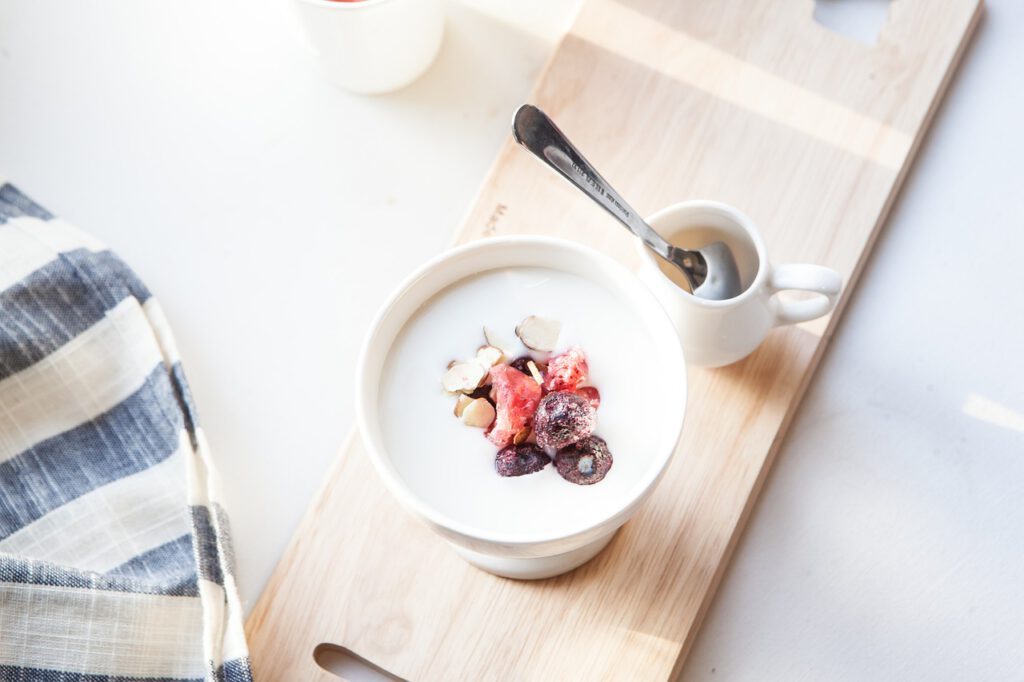
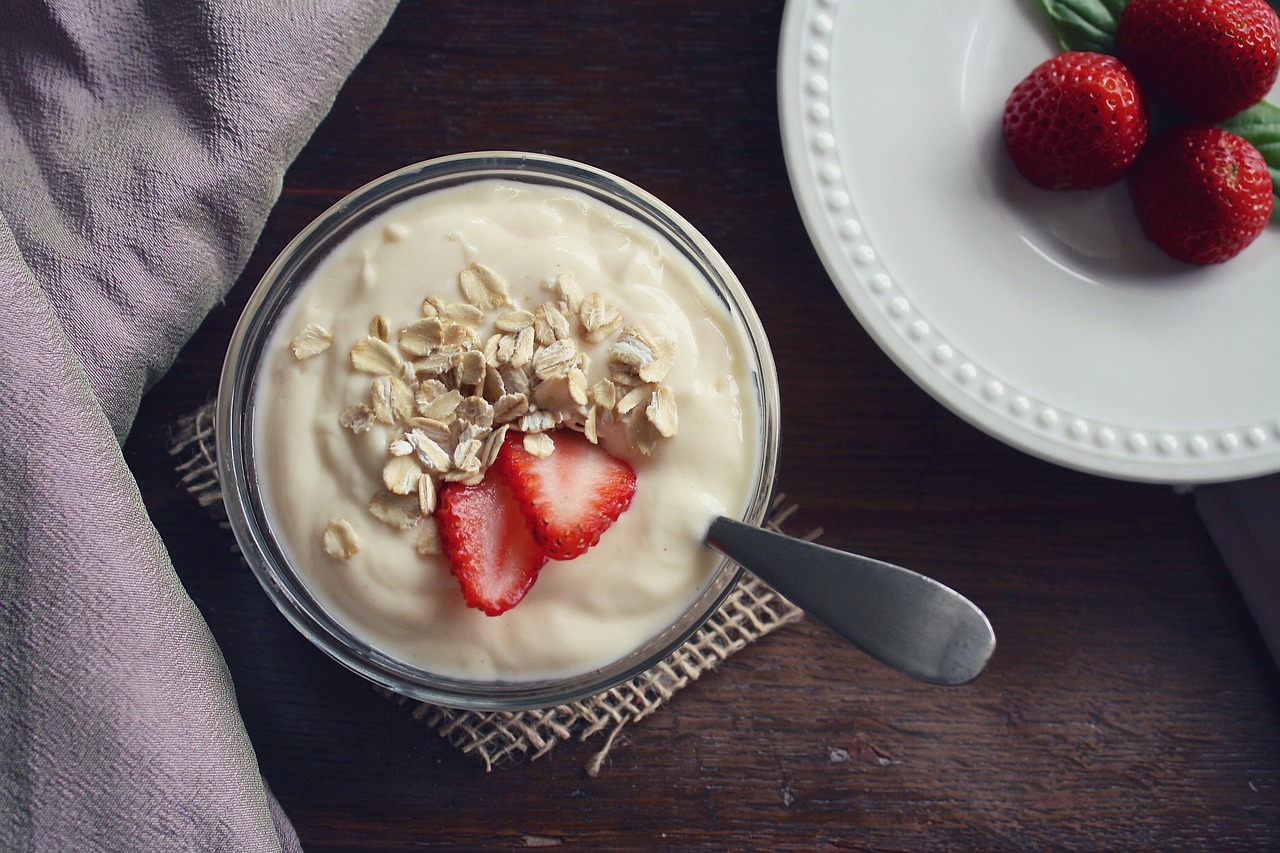
- Your homemade dairy-free Greek yogurt is now ready to enjoy! Serve it with fresh fruit, granola, or a drizzle of honey. You can also use it in smoothies, dressings, or as a base for sauces.
Tips for Perfect Dairy-Free Greek Yogurt
- Choose the Right Plant-Based Milk: For the creamiest yogurt, opt for milks with a higher fat content like coconut or cashew milk.
- Monitor Fermentation Time: Adjust the fermentation time based on your taste preference. Shorter times yield milder yogurt, while longer times produce a tangier flavor.
- Experiment with Flavors: Once you master the basic recipe, try adding vanilla extract, fruit purees, or spices to create your favorite flavors.
Health Benefits of Dairy-Free Greek Yogurt
Dairy-free Greek yogurt offers several health benefits:
- Lactose-Free: Perfect for individuals with lactose intolerance or dairy allergies.
- Rich in Probiotics: Supports gut health and boosts the immune system.
- Low in Saturated Fat: Plant-based milks typically contain less saturated fat compared to dairy milk.
Conclusion
Making dairy-free Greek yogurt at home is a rewarding and delicious way to enjoy a creamy, tangy treat without dairy. With just a few simple ingredients and steps, you can create a customizable yogurt that fits your dietary needs. Whether you enjoy it plain or with your favorite toppings, homemade dairy-free Greek yogurt is a healthy and satisfying option.
Explore the endless possibilities with your dairy-free Greek yogurt and enjoy the fresh, wholesome flavors that you’ve created yourself. Happy yogurt-making!

